

El calendario puede decir que es primavera, pero los termómetros dicen que es verano. Verano: estación que está en Canarias durante 10 meses (más o menos). No me gusta el sol, lo evito a toda costa. Ir a la playa es todo un infierno para mí. Pero para hacer el infierno más llevadero, he aquí un colorido DIY.
Ya os he comentado que, esta primavera-verano, lo que se lleva son las maxi gafas con adornos recargados. Y yo no he podido evitar la tentación de hacerme unas. Para ello, materiales sencillos: adornos (flores de resina en mi caso), pegamento y unas gafas viejas que ya no uses.
I already said that, this spring and summer, the maxi glasses with refilled ornaments are a must have. And I haven't been able to avoid to make some ones for me. To make them, simple materials: ornaments (resin flowers in my case), glue and old glasses don't use or don't like.

Paso 1. Consigue los materiales: adornos, gafas y pegamento.
Step 1. Get materials: ornaments, sunnies and glue.
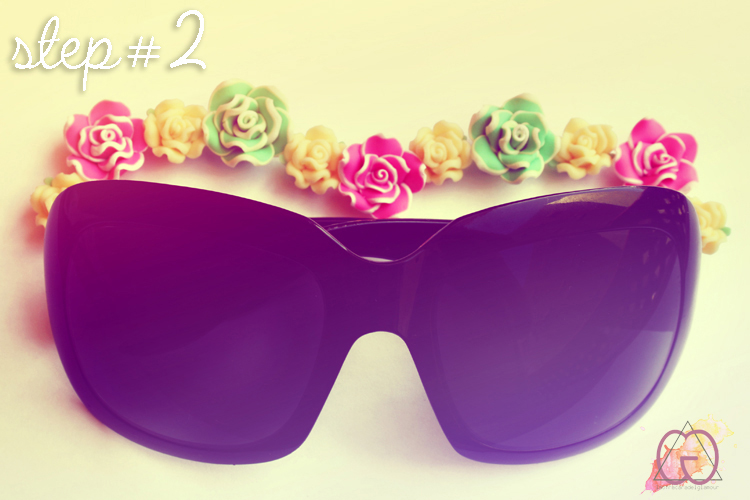
Paso 2: crea un diseño, hazlo antes de empezar a pegar los adornos, te ahorrarás quebraderos de cabeza.
Step 2: Create a design, do it before you start gluing the adornments, advice after my experience.

Step 3: esto tienes que hacerlo rápido, y sin que te tiemble el pulso. Pon pegamento en tus adornos e, inmediatamente, pégalos en el lugar donde habías pensado antes.
Step 3: you have to do it fast. Put glue on your embellishments and immediately stick them in the place where you thought before.

Paso 5: deja que los elementos se peguen. Mira bien las instrucciones de tu pegamento, el mío solo tardó 5 segundos.
Step 5: let the elements sticking. Look at instructions carefully on your glue, mine only took 5 seconds.

¡Y ya están listas! Yo he hecho dos modelos muy distintos, aunque con los mismos materiales. Las primeras son muy recargadas, me gustan mucho para una fiesta o para ir a la playa. Las segundas, que han sido las primeras que he estrenado - me encantan - las he usado, precisamente, para ir a la playa.
Este DIY es un poco de reciclaje pues, en mi caso, he rescatado un par de gafas que ya no me gustaban. Les he dado una segunda vida que espero dure mucho, jejeje.
And they are ready! I've done two very different, but with the same materials. The first ones are very recharged, I really like for a party or to go to the beach. The second, which were the first I wore - I love them - I have used precisely to go to the beach.
With this DIY I rescued a old pair of glasses, and I have given them a second life that I hope will last a long time, hehehe.

Aquí algunas fotos del día en que las estrené...
Here are some pics of the day I put them...


Espero que os haya gustado este DIY y este post. Si es así, espero vuestros comentarios y vuestras fotos con las creaciones que hagáis. ¡Sois inspiradores chicos/as!
¡Feliz comienzo de semana! ¡Sed felices!
Happy start to the week! Be happy!

1 comentario :
Que DIY mas mono, me encanta el resultado de las florecillas, aunque no me veo con unas gafas de flowersss :p
www.jeffreyherrero.com
Publicar un comentario